The home renovation is finally done, and all that’s left is a good clean before you can enjoy it. But here’s the catch: the wrong deep-clean approach can actually undo the results you worked so hard for, scuffing new surfaces or leaving damage that’s harder to fix than the mess itself. Before you grab your usual cleaning supplies, here are 8 mistakes to steer clear of. Stick around for the bonus at the end — some genuinely unexpected stories from people whose cleaning day took a wild turn.


Scrubbing New Paint Too Soon (Before It’s Fully Cured)

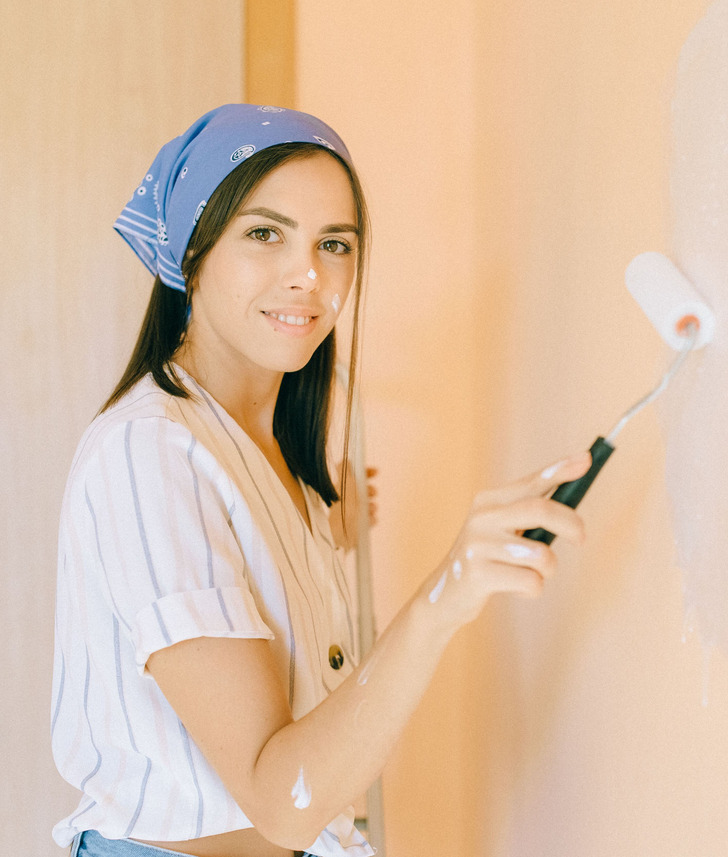
Fresh paint can feel dry to the touch within 24 hours, but full curing actually takes 2 to 4 weeks. Scrub or wipe it down before then, and you risk leaving marks or stripping away the glossy finish your home renovation just paid for — not a great start for a brand-new interior design.
Using Abrasive Sponges on New Countertops or Fixtures
The green scouring side of a sponge feels like it should be the “deep clean” option, but on new marble, quartz, stainless steel, or fresh hardware, it leaves fine scratches that dull the surface for good. Stick to a soft cloth or microfiber instead — it cleans just as well without the risk.
Using Too Much Cleaning Product “To Be Safe”

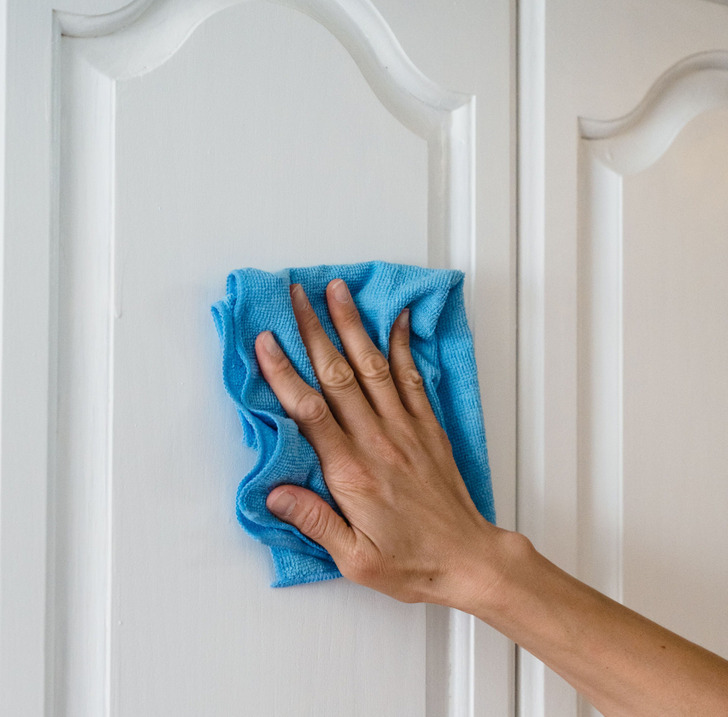
After a home renovation, it’s tempting to think more product means a cleaner result, but overdoing it with cleaning solution leaves behind a sticky film. That residue doesn’t just look bad — it actually attracts more dust, making your fresh interior design look grubby again within days.
Cleaning Wet-First Instead of Dust-First
One of the golden rules of housekeeping is dry before wet. Wipe a damp cloth straight over dusty surfaces and construction dust turns into smeary, gritty paste instead of coming off cleanly. Vacuum or dry-dust first, then follow up with a damp cloth for an actual deep clean.
Using Too Much Water on New Flooring — and Ignoring Manufacturer Instructions

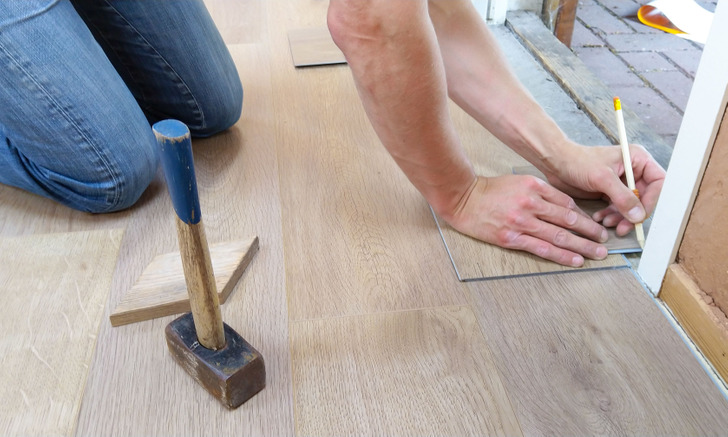
Excess water is one of the fastest ways to warp or bubble brand-new flooring — a costly setback for any interior design you picked out during your home renovation. LVT, laminate, and even some quartz-composite floors each have their own manufacturer guidelines, so check them before applying your standard cleaning routine — what worked on your old floor could ruin the new one.
Forgetting That Renovation Dust Keeps Coming Back
Construction dust doesn’t just settle once — it gets pulled into the ventilation system and keeps drifting back into rooms for weeks after the crew leaves. That’s why a single deep clean right after renovation isn’t enough; plan a second deep clean around the 30-day mark that covers vents and air returns, not just visible surfaces.
Not Airing Out Rooms Before Deep Cleaning


Cleaning with the windows shut traps fine dust particles in the air instead of letting them escape, so they just resettle on the surfaces you already wiped down. Open a window or two before you start any housekeeping session to let airborne dust clear out properly.
Not Testing Cleaners on a Hidden Spot First
Even a trusted cleaning product — including something as gentle as vinegar or baking soda — can react unpredictably with a brand-new finish. A vinegar solution that’s perfectly safe on old tile might dull a fresh stone countertop, and baking soda can be too abrasive for certain coated surfaces. Always test on a hidden spot, like behind furniture or in a corner, before treating the visible surface.
What Not to Do


Skip the abrasive sponges, the extra-strength doses of cleaning product, and the wet-first wipe-downs. Give fresh paint its full curing time, check manufacturer guidance before soaking new flooring, and don’t treat renovation dust as a one-and-done job — it needs a follow-up deep clean weeks later. Even gentle staples like vinegar and baking soda deserve a spot-test first. A little patience with your housekeeping routine now protects the interior design you just invested in.
Bonus
- I was deep cleaning my renovated kitchen with vinegar and baking soda when my phone rang. Estate agent. Someone wanted to view the house — not listed, not for sale, they’d seen it through the window and asked the agent to make contact.
I said it wasn’t for sale. The agent said, “Just hear the offer.” I said no. Kept cleaning.
Two hours later someone knocked on my door anyway. She wasn’t a buyer. She was the architect who’d designed the original house in 1987 and had been driving past for years watching the owners ruin it with bad renovations. She said, “Yours is the first one that looks right.”
She’d seen me cleaning through the window and recognized the interior design instincts in how I maintained it. She asked if she could photograph it for her portfolio. Then asked if I’d collaborate on her next project.
The deep clean that wasn’t supposed to lead anywhere became a professional partnership I hadn’t been looking for. The vinegar and baking soda were still on the counter when we shook hands.
- I bought a thrift store cabinet for $20 and spent two weeks trying to make it work in my home renovation. Wrong smell, wrong surface residue, wrong everything. The interior design I’d planned around it wasn’t working.
I was about to list it back online when my sister called. She said, “Have you tried baking soda and vinegar?” I said, “Obviously.” She said, “Overnight.” I said what.
Baking soda packed inside, white vinegar wiped on every exterior surface, sealed in a bag overnight. Our grandmother’s deep-clean method for old furniture — completely off script from anything I’d tried.
By morning, the cabinet was transformed. The smell gone, the surface clean, the interior design suddenly exactly what I’d imagined. I kept it. Posted a photo.
An interior design account with 400,000 followers reposted it, asking what I’d used. I replied: baking soda, vinegar, my grandmother’s housekeeping method. The post has 47,000 saves.
A finished renovation deserves a cleaning routine that’s just as careful as the work itself. Slow down, follow the small rules — dry before wet, gentle before abrasive, a little product instead of a lot — and your new space will stay as flawless as the day it was finished.
Read next: 14 Families Whose Kitchen Islands Became the Heart of the Home
Preview photo credit
AI-generated image
Comments
Lucky you! This thread is empty,
which means you’ve got dibs on the first comment.
Go for it!