A malted chocolate pie delivers a nostalgic taste of classic chocolate malt milkshakes, combining rich chocolate with a signature malt flavor in a layered, no-bake dessert. This dessert is crafted to evoke the sensory experience of childhood diners and retro malt shops, where the aroma of warm chocolate and the crispness of malted milk balls once filled the air. Source: sallysbakingaddiction.com.
What Makes This Pie Special?
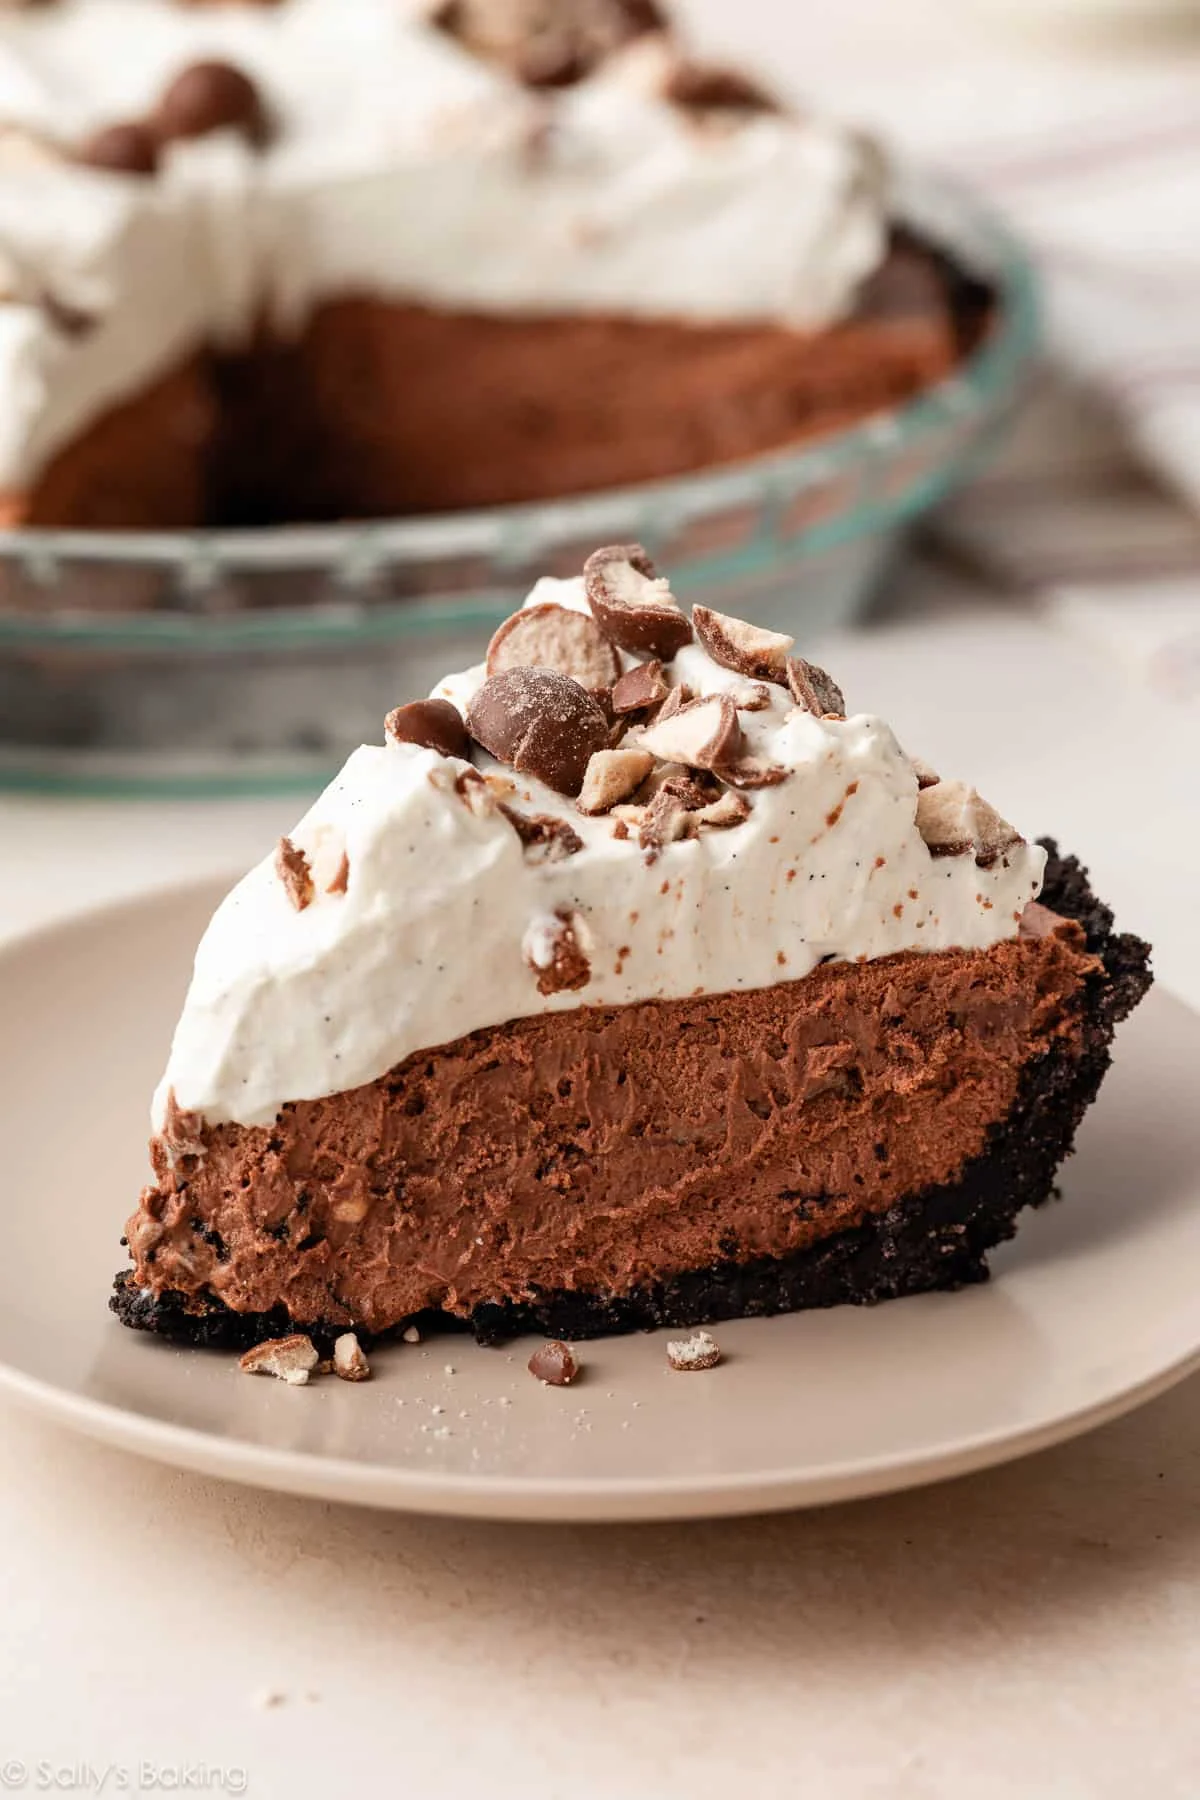
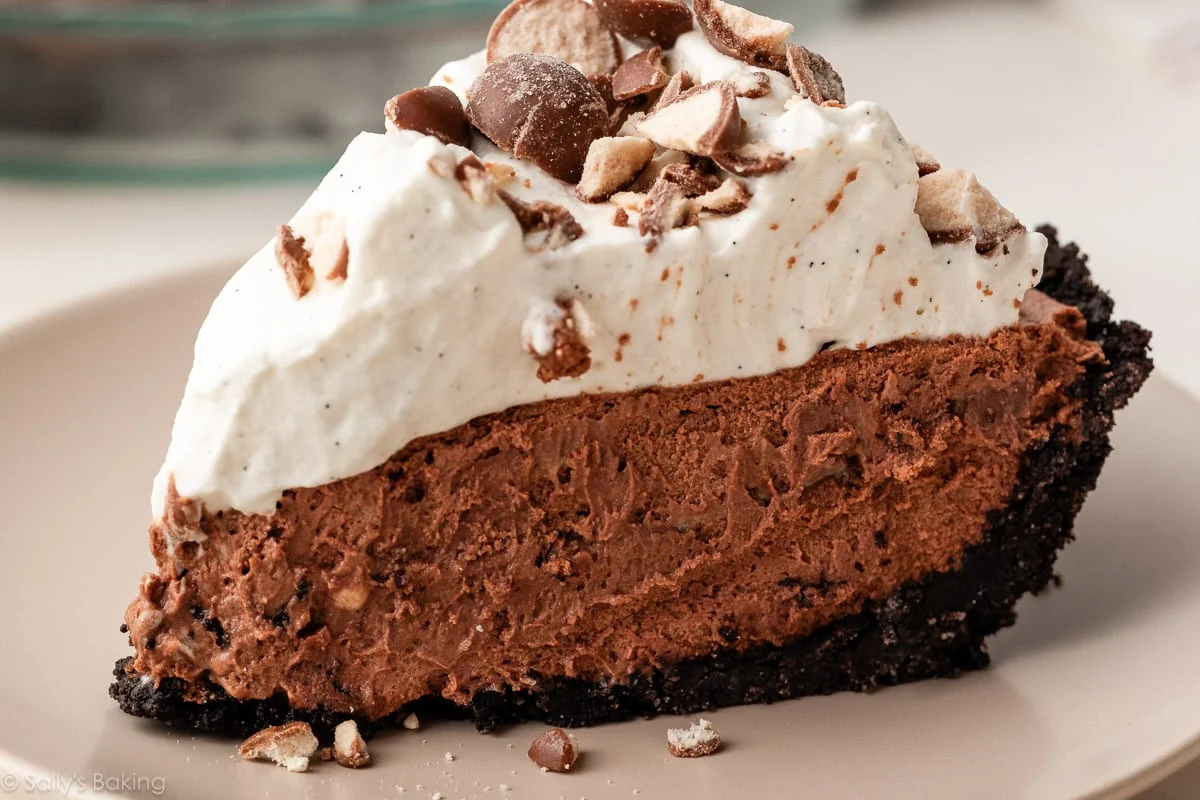
This malted chocolate pie captures the essence of an old-fashioned malt milkshake. It features a crunchy Oreo cookie crust, a light and creamy malted chocolate mousse, and a layer of crushed malted milk balls. Each component is designed to deliver a distinct sensory experience—crunch, creaminess, and a subtle malted aftertaste—creating a balanced and satisfying bite.
The pie is designed to be nearly no-bake, requiring only 10 minutes for the crust. Most of the preparation happens at room temperature, making it accessible for home bakers with minimal equipment. This simplicity allows even novice bakers to create a sophisticated dessert without needing specialized tools or techniques.
Key Ingredients and Their Roles
- Oreo cookies: Grind whole cookies into fine crumbs to form a sturdy crust. The creme layer adds sweetness and helps bind the mixture. Using standard Oreo cookies—without Double Stuf—ensures a consistent texture and avoids an overly sweet or dense base.
- Melted butter: Acts as a binder, holding the cookie crumbs together without adding extra fat or flavor. A small amount is sufficient to create a cohesive, stable crust that holds its shape during slicing.
- Semi-sweet chocolate: Chopped into small pieces, it provides the base chocolate flavor. The source recommends Ghirardelli, a widely available brand known for its smooth texture and balanced sweetness.
- Heavy cream: Used in three ways: heated for ganache, whipped for the mousse, and chilled for the topping. This versatility ensures that the cream contributes to both flavor and texture throughout the pie.
- Malted milk powder: The key source of malt flavor. Plain malted milk powder is required, not a chocolate malt drink mix. The source uses Nestle Carnation, a common grocery store brand, which is widely accessible and delivers a consistent, authentic malt profile.
- Vanilla extract: Balances the chocolate and malt notes. Vanilla bean paste is an optional alternative, especially when used in the whipped cream topping, where it can enhance the aroma and depth of flavor.
- Salt: Adds a subtle balance to the rich, sweet profile, preventing the dessert from feeling overly indulgent or cloying.
- Confectioners’ sugar: Sweetens the whipped cream topping, ensuring a pleasant, balanced sweetness without overpowering the malt and chocolate elements.
- Malted milk balls: Crushed and layered in the filling for texture. Some are saved for garnish to maintain crunch. These balls provide a chewy, slightly sweet contrast that mimics the texture of a malted milk candy.
How the Pie Is Made
- Prepare the Oreo crust: Mix crushed Oreo cookies and melted butter. Bake for 10 minutes to ensure stability. Let cool completely before adding filling. This step is critical—baking the crust prevents it from crumbling during slicing and ensures a firm base for the layers. The author notes that this crust is a go-to for several other desserts, including Nutella and mocha chocolate pudding pies.
- Make the chocolate ganache: Heat heavy cream until it gently simmers. Pour over chopped chocolate and let sit for two minutes. Stir until smooth. This process creates a rich, glossy chocolate base that forms the foundation of the mousse.
- Add malted milk powder: Sift the powder into the chocolate mixture to prevent clumping. Add vanilla and salt, then whisk until smooth. Let cool completely—this is critical to avoid melting the whipped cream when folding in. The author emphasizes that this step must be completed before moving to the next phase.
- Whip cold heavy cream: Whip until medium-to-stiff peaks form. Gently fold into the cooled chocolate mixture with a spatula, taking several turns to fully incorporate. The result is a light, velvety mousse that is rich without being dense. The author suggests tasting the mixture at this stage to ensure it has the right balance of flavor and texture.
- Layer the filling: Spread about half of the mousse into the cooled crust using an offset spatula. This ensures even distribution and prevents overflow, allowing for clean, even slices when cut.
- Add the malted milk ball layer: Pulse malted milk balls into coarse crumbs. Instead of using a food processor, you could seal some in a zipped-top bag and crush with a rolling pin. Sprinkle them over the filling. Add the remaining mousse and gently smooth it into an even layer.
- Chill the pie: Cover and refrigerate for at least 6 hours or up to 2 days. This allows the filling to firm up, enabling clean, even slices and a stable structure that holds together during serving.
- Finish with malted whipped cream: Spread a layer of homemade whipped cream over the chilled pie. Add a final sprinkle of crushed malted milk balls just before serving to keep them crunchy. This final touch enhances both visual appeal and texture.
Why This Recipe Works
The pie is egg-free, making it suitable for those avoiding eggs. It relies on simple techniques like folding and chilling, which are common in no-bake desserts. The combination of chocolate, malt, and cream creates a familiar flavor profile that resonates with many people who grew up in the mid-20th century.
Each layer contributes distinct textures: the Oreo crust offers crunch, the mousse is soft and creamy, and the malted milk balls provide a crisp, chewy contrast. This layered structure ensures that every bite delivers a different sensory experience, making the dessert both satisfying and memorable.
Personal Experience and User Feedback
The author of the original post notes that the pie tastes like a classic chocolate malt milkshake. This sensory connection is a key reason for its appeal. Users have reported that the pie evokes strong emotional responses, transporting them back to childhood memories of malt shops and family gatherings. One user remarked, ‘We all agreed this malted chocolate pie tastes like an old-fashioned chocolate malt in pie form!’ This shared experience highlights how deeply the recipe resonates with its audience.
Limitations and Considerations
The recipe requires refrigeration for at least 6 hours. This makes it ideal for make-ahead use but not suitable for immediate serving. Some ingredients, like malted milk powder, may not be available in all regions or stores. The source specifies it must be plain, not chocolate-flavored, to maintain the authentic malt flavor.

While the mousse is light and creamy, it is not a traditional meringue-based mousse. This makes it accessible without requiring specialized tools or equipment. The recipe is best prepared in a glass pie dish, which allows for even heat distribution and prevents the filling from sticking to the sides.
Related Recipes
For more baking inspiration, explore these related recipes:
- Chocolate Cornflake Cookies — a rich, crunchy holiday treat.
- Make-Ahead Pie Crust with Pie Crumbs — a versatile base for other desserts.
- Chocolate Peppermint Cookies — a simple holiday recipe with a festive touch.
This malted chocolate pie is a celebration of familiar flavors and simple baking techniques. It honors the tradition of malted milkshakes while offering a modern, accessible dessert that anyone can enjoy with minimal effort.
Sources & further reading
Featured image: slice of malted chocolate pie on a plate.. Via original publisher. Image source