A new dessert recipe combines the best of two fall favorites: pumpkin cake and pumpkin cheesecake. This one-layer cake delivers both textures and flavors in a single, satisfying slice.
What Is This Pumpkin Cheesecake Cake?
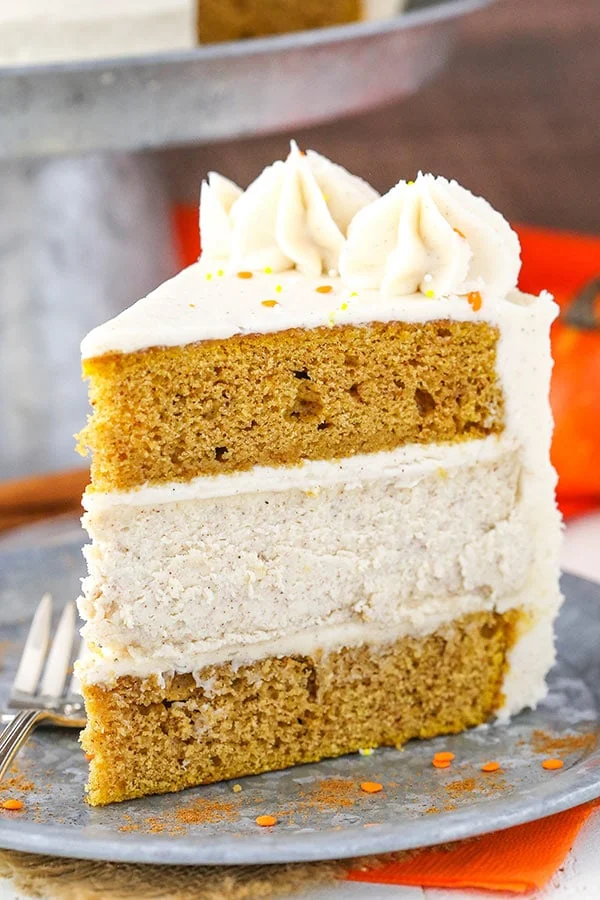
The pumpkin cheesecake cake merges two classic fall desserts into one. It features a moist, tender cake layer and a rich, creamy cheesecake layer.
Both layers contain pumpkin puree and pumpkin spice. A cinnamon whipped cream frosting separates them. The result is a layered dessert that satisfies multiple cravings.
How the Recipe Works
The cake and cheesecake layers are built from similar ingredients but with key adjustments.
- Cake layer: Uses all-purpose flour, brown sugar, pumpkin puree, and vegetable oil. Eggs provide structure. The batter is baked in 9-inch pans and requires a full cooling cycle before assembly.
- Cheesecake layer: Uses full-fat cream cheese, sour cream, and a blend of spices. It includes 3 eggs instead of 4 to prevent overgrowth. The reduced egg count ensures the cheesecake maintains a balanced height and texture without becoming too tall or dense.
- Frosting: A cream cheese-based frosting with heavy cream, powdered sugar, and vanilla. It is whipped to stiff peaks, providing a light, stable, and flavorful layer that holds up well under the weight of the cake layers.
The cake layers are baked in 9-inch pans. The cheesecake is baked in the same pan, then cooled and lifted out using foil. This ensures consistency in size and shape between the layers, which is essential for a visually balanced and structurally sound cake.
Key Preparation Steps
Preparation requires careful timing and layer cooling. Each step is designed to ensure optimal texture and stability in the final product.
- Preheat oven to 300°F (148°C) for the cheesecake. This low temperature is critical for a slow, even bake that prevents cracking and ensures a smooth, flat surface.
- Line a cake pan with aluminum foil and press it tightly against the sides. This creates a seal that helps distribute heat evenly and prevents the cheesecake from sticking or forming a crater during baking.
- Beat cream cheese, brown sugar, and all-purpose flour on low speed until combined. This initial mixing ensures a smooth base for the batter.
- Add pumpkin puree, sour cream, vanilla extract, and a blend of pumpkin spices—cinnamon, nutmeg, cloves, and ginger—on low speed. These ingredients contribute to the warm, aromatic flavor profile that defines fall desserts.
- Beat in the eggs one at a time, ensuring each is fully incorporated before adding the next. This gradual incorporation prevents curdling and promotes even distribution of moisture and structure.
- Spread the mixture evenly into the prepared pan and prepare a water bath. The water bath acts as a stabilizing environment, reducing temperature fluctuations and preventing the cheesecake from rising unevenly or developing cracks.
- Bake for 1 hour and 15 to 20 minutes. After baking, leave the oven door closed for 30 minutes, then open for another 30 minutes. This cooling process allows the cheesecake to set properly and firm up, reducing internal moisture and creating a stable, cradle-like structure.
- Allow the cheesecake to cool to room temperature before placing it in the refrigerator. This step prevents sudden temperature shifts that could cause cracking or warping.
- Chill the cheesecake for at least 5 to 6 hours, with overnight chilling being ideal. This extended cooling ensures the cheesecake reaches full firmness, which is essential for layering without sinking or collapsing.
- Preheat oven to 350°F (176°C) for the cake layers. Prepare two 9-inch pans with non-stick baking spray and parchment paper to prevent sticking and ensure even baking.
- Whisk dry ingredients—flour, baking powder, and salt—in a separate bowl. This step ensures even distribution of leavening agents and prevents uneven texture.
- Mix wet ingredients—brown sugar, vegetable oil, vanilla extract, eggs, and pumpkin puree—in a separate bowl. The oil adds moisture and helps bind the ingredients, while the eggs contribute structure and richness.
- Combine the dry and wet ingredients gently, mixing until smooth. Avoid overmixing to prevent a dense or gummy texture.
- Divide the batter evenly between the two pans. Use a spatula or spoon to ensure consistency and prevent uneven baking.
- Bake for 35 to 40 minutes. The cake is done when a toothpick inserted into the center comes out clean.
- Let the cakes cool in the pans for 5 to 8 minutes to allow the structure to set. Then transfer them to a cooling rack to cool completely. This step is vital to prevent moisture from migrating into the cake layers during assembly.
After cooling, make the frosting. Whip cream cheese with a whisk attachment until smooth. Add heavy cream gradually—about 2 cups—until the mixture reaches a milky, smooth consistency. This step ensures the frosting is light and airy without being too runny. Add powdered sugar and vanilla extract, then continue whipping to stiff peaks. This gives the frosting a stable, glossy finish that holds its shape when layered.
Assembly and Serving
Assemble the cake only after all layers are fully cooled. This is essential to prevent the layers from sinking or the frosting from melting.
Begin by placing one cake layer on a serving plate. Spread a cup of frosting evenly over the top. This creates a smooth, even base for the next layer.
Remove the foil from the cheesecake and place it on top of the cake layer. The cheesecake should be fully chilled and firm to avoid deformation during placement.
Spread a cup of frosting over the surface of the cheesecake. This layer helps bind the cake and cheesecake together and adds a rich, creamy texture.
Place the second cake layer on top. This completes the structure and provides a final layer of texture and flavor.
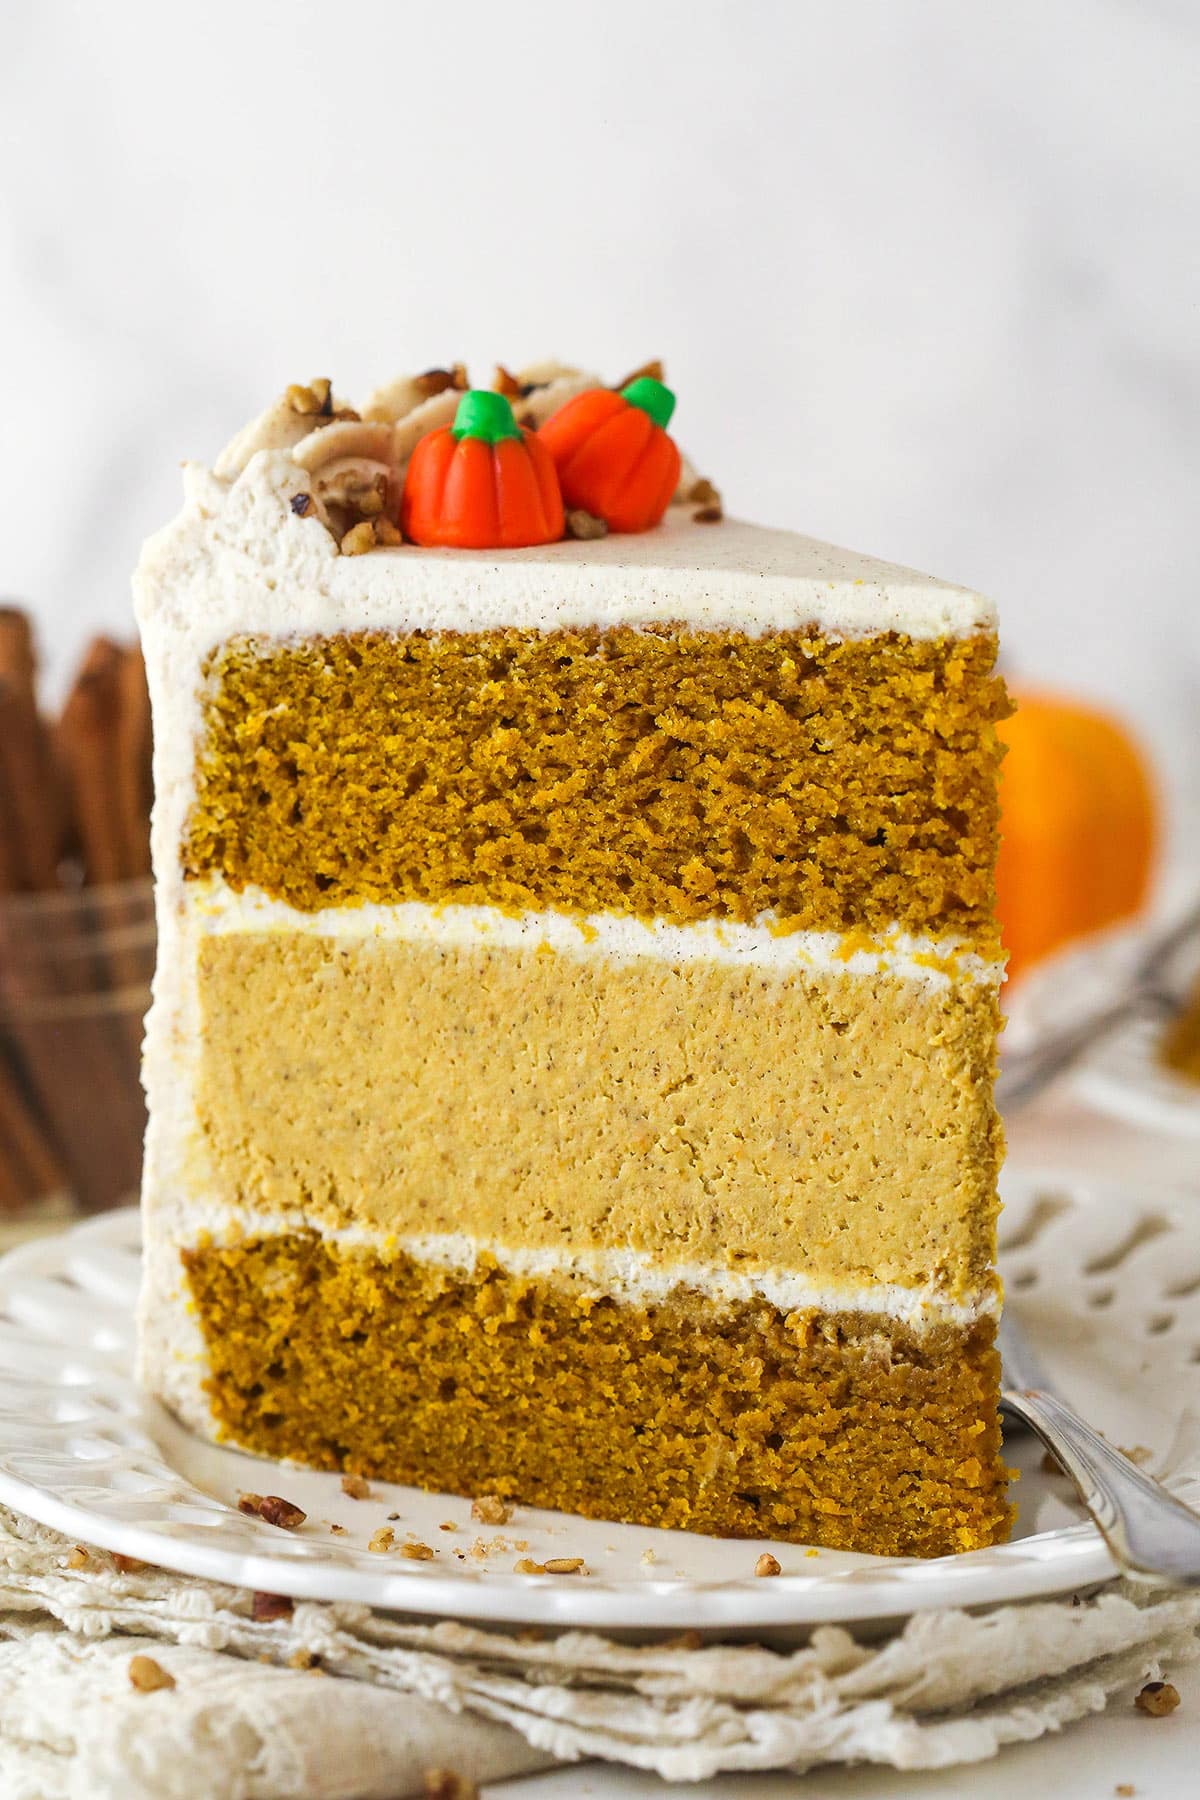
Frost the outside of the cake with the remaining frosting. Use a spatula or offset spatula to spread it evenly. Then pipe decorative shells or swirls around the top edge using a piping bag and a star tip. This adds visual appeal and a festive touch, especially during fall gatherings.
Optional: Add candy pumpkins just before serving. The orange color may bleed into the cake when stored in the refrigerator, so adding them at the end preserves their vibrant appearance and prevents color fading.
Refrigerate the cake before serving. It should be served cool, not cold. Let it sit at room temperature for 15 to 30 minutes before serving. This allows the flavors to meld and the texture to soften slightly, enhancing the overall eating experience.
Why This Recipe Stands Out
The recipe combines two popular desserts in a way that maintains texture and flavor balance. The cake layer offers a tender, moist base, while the cheesecake provides a rich, dense contrast that satisfies both sweet and creamy preferences.
The creator notes that this cake “always disappears quickly” after being made, reflecting its popularity and appeal among fall dessert enthusiasts.
The recipe is designed for busy fall schedules. The layers can be baked a day in advance and stored properly, making it manageable during hectic seasons.
The creator recommends making the cheesecake first, as it takes the longest to bake and chill. This allows the cake layers to be prepared in parallel, reducing overall time pressure.
Storage and Preservation
Store the cake in an airtight container or covered with plastic wrap to prevent drying or contamination.
- Fridge: Best enjoyed within 3 to 4 days. Serve cool, not cold. The cake should be left out for 15 to 30 minutes before serving to allow the flavors to develop and the texture to soften.
- Freezer: Individual slices can be flash-frozen, wrapped in plastic wrap and then foil, and stored for up to two months. The entire cake has not been tested for freezing, but should freeze well due to its layered structure and stable ingredients.
Creator’s Experience and Personal Notes
The recipe is based on a personal tradition. The creator makes this cake every fall, often during the first weekend of October, when the air is crisp and the scent of pumpkins is at its peak.
They explain that the cake layers were initially made with more batter than originally planned to match the thickness of the cheesecake layer. This adjustment was necessary to ensure both layers were of similar height and consistency when assembled.
After baking, the cake was found to be denser than desired. The creator adjusted the recipe by reducing both flour and egg amounts, which improved the texture and resulted in a more balanced, desirable outcome.

They emphasize that the water bath is essential for a flat, crater-free cheesecake. Without it, the cheesecake would have an uneven top, which would compromise both the appearance and structural integrity of the layered cake.
They also note that both cake and cheesecake layers hold up well when prepared ahead. This makes the dessert manageable during busy seasons, allowing for preparation in advance without sacrificing quality.
Limitations and Considerations
The recipe does not include gluten-free options for the cake layer. Only the cheesecake layer can use cornstarch as a substitute for flour. This limitation may affect individuals with gluten sensitivities or celiac disease.
It requires precise timing. The cake layers must cool completely before assembly. The cheesecake needs at least 4 hours to firm up. These steps are non-negotiable for structural integrity.
It is not designed for quick assembly. The process involves multiple steps and cooling periods, making it best suited for those with time and space to prepare ahead.
The creator has not tested the entire cake in the freezer. Only individual slices have been tested. This means the full cake may not retain its structure or texture when frozen and thawed.
While the recipe is detailed, it does not include guidance on portion size or serving suggestions. It is best suited for serving in individual slices or as a centerpiece at fall gatherings.
For those who prefer a simpler dessert, the original pumpkin layer cake or pumpkin cheesecake may be more practical.
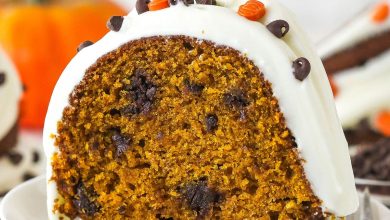
For more pumpkin-based recipes, see the pumpkin chocolate chip bundt cake or explore other pumpkin desserts on the site.
Learn more about the original recipe on lifeloveandsugar.com.
For a similar dessert with whipped cream and cream cheese, see pumpkin layer cake with whipped cream and cream cheese frosting.
Explore the full pumpkin cheesecake recipe at lifeloveandsugar.com.
Sources & further reading
Featured image: A slice of pumpkin cheesecake cake standing up on a white plate. Via original publisher. Image source